Mascot Creator Toolkit: Briefs, Prompts, Poses, and Exports
A practical mascot creator toolkit for product teams: brief, prompt structure, pose list, style rules, SVG export checks, and handoff notes.
Quick Answer
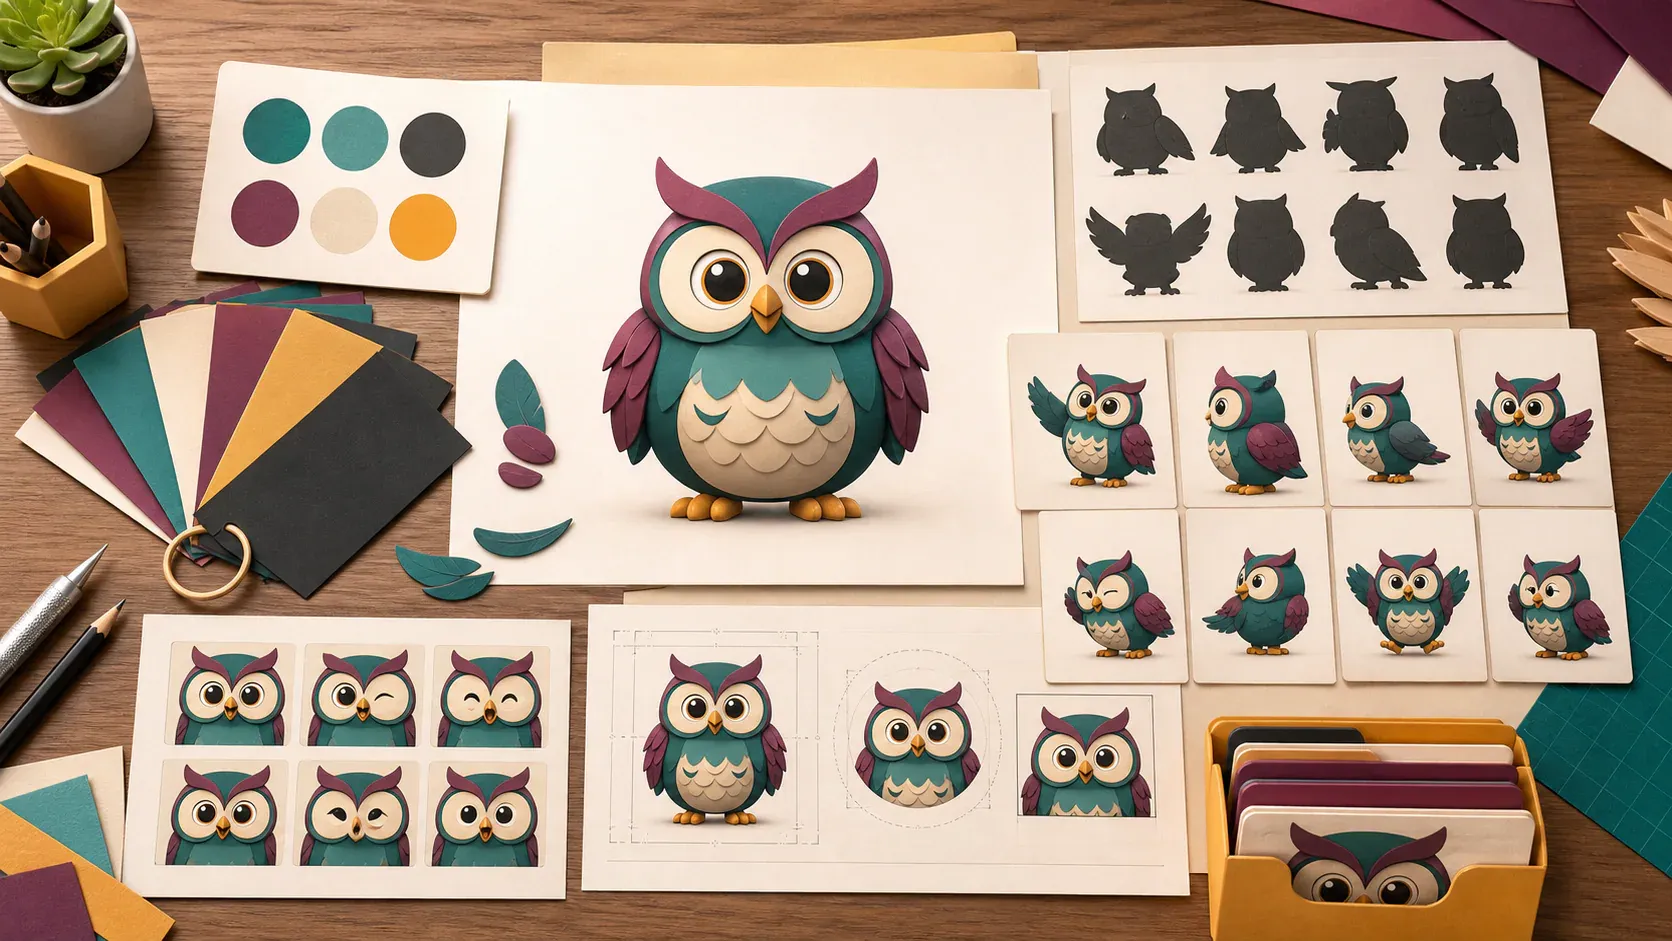
A mascot creator toolkit is the working set of decisions and reusable assets that keep a generated character consistent. It is more than a prompt. For a product team, the toolkit should include the mascot brief, style rules, approved reference image, pose list, export requirements, and usage notes.
Core idea: create the toolkit before you generate dozens of character poses. The first good mascot matters, but the reusable system around it is what makes the character useful across a real app.
- Write a short mascot brief that names the audience, product role, tone, and visual constraints.
- Separate the base character prompt from pose prompts so each new asset stays on-model.
- Define export checks for SVG, transparent PNG, safe padding, and small-size readability.
This guide focuses on the operating document and handoff system around a mascot. If you need the step-by-step creation sequence, use the app mascot generator workflow; if you need to decide which files to produce, use the mascot poses and expressions library.
What belongs in a mascot creator toolkit
Most teams start with one request: “create a mascot.” That can produce a good image, but it does not automatically produce a reliable mascot system. A toolkit turns the first character into something designers, marketers, founders, and developers can reuse without reinventing the brief every time.
Use the toolkit to answer five practical questions:
| Toolkit item | What it decides | Why it matters |
|---|---|---|
| Mascot brief | audience, role, tone, category | keeps concepts aligned with the product |
| Style rules | shape language, colors, detail level | prevents each pose from drifting |
| Prompt blocks | base character, pose, scene, export | makes generation repeatable |
| Pose list | welcome, explain, think, error, success | ties assets to real product moments |
| Export checks | SVG, PNG, transparent background, padding | keeps files usable in UI and marketing |
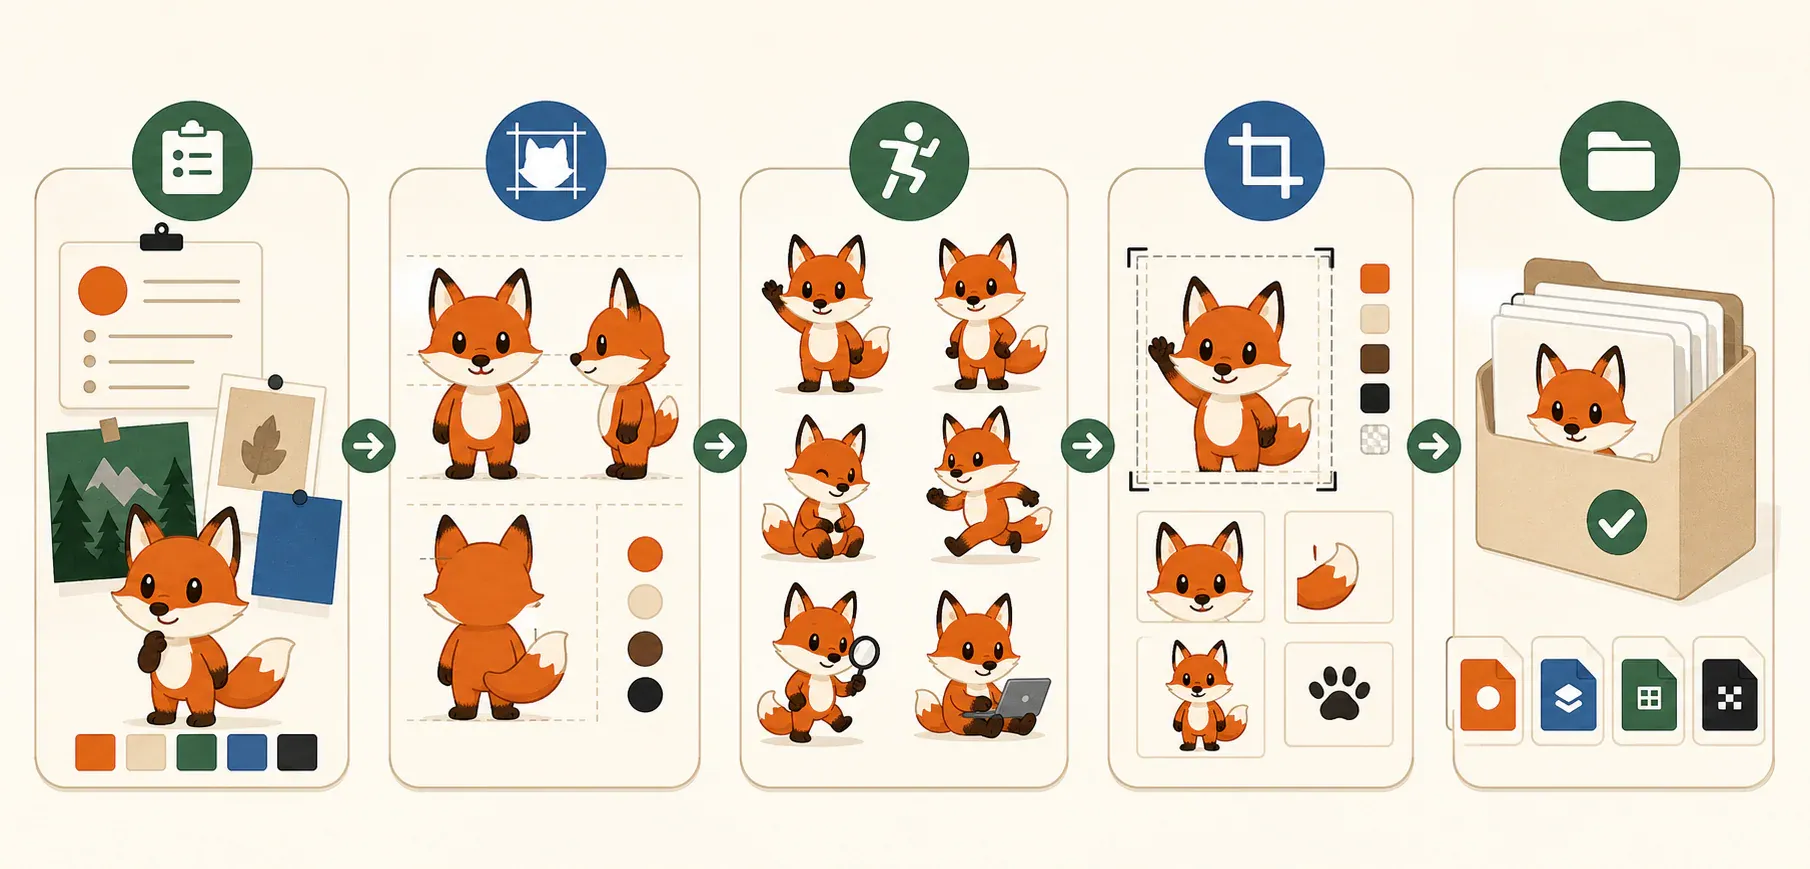
Think of this as a production loop, not a one-time handoff. When a pose fails a real placement test, update the brief or export rules before generating the next batch. That small feedback step prevents the same problem from spreading through the whole library.
If you are still deciding whether a mascot is the right identity system, start with Mascot vs Logo. If you already have the core character, Transparent SVG Mascots is the next production step.
Start with a one-page mascot brief
The brief should be compact enough to paste into a generator, but specific enough to filter bad outputs. It does not need to be a full brand book.
Include:
- Product category: what the product does and who uses it.
- Mascot role: guide, assistant, builder, coach, narrator, or celebrator.
- Brand traits: three to five adjectives that should show up visually.
- Visual style: vector-friendly, clean geometry, flat color, soft depth, or another clear direction.
- Constraints: no text in the image, transparent background, readable at small sizes, no copied brand characters.
Here is a simple structure:
Create a mascot for [product category].

Audience:
[Who uses the product.]

Role:
The mascot helps users [complete task, understand state, or remember the brand].

Personality:
[Three to five traits.]

Visual style:
[Shape language, detail level, color direction, export constraints.]

Avoid:
[Anything off-brand, too detailed, legally risky, or hard to reuse.]
For a broader creation workflow, read How to Create a Mascot for Your App.
If a simple, scalable shape language is part of the brief, the simple geometric mascot design guide shows which silhouette, face, limb, and palette rules to lock.
Split prompts into reusable blocks
A useful mascot toolkit separates stable character details from the moment you are generating. This makes it easier to create new poses without changing the mascot’s identity.
Use four prompt blocks:
| Prompt block | Changes often? | Example content |
|---|---|---|
| Character block | No | body shape, face, proportions, colors, accessories |
| Style block | Rarely | line weight, shading, palette, SVG-friendly constraints |
| Pose block | Yes | waving, pointing, explaining, celebrating, recovering |
| Placement block | Yes | onboarding screen, error state, pricing page, social post |
The character and style blocks should stay stable. The pose and placement blocks can change for each asset request.
That structure also makes review easier. If a generated asset feels wrong, the team can identify whether the issue is the base character, the pose, the style, or the placement instead of rewriting everything from scratch.
Choose the first pose set by product moment
Do not build a random sticker pack first. Build the poses your product can actually use.
Start with this minimum set:
- Welcome: onboarding, account creation, first empty project.
- Explain: feature intro, docs callout, settings guidance.
- Think: loading state, AI planning, processing, search.
- Error recovery: failed upload, invalid input, missing setup.
- Success: completed task, launch, import complete, payment confirmed.
- Announcement: changelog, launch post, new template, feature release.
This gives the mascot a job in the product instead of turning it into decoration. Where to Place a Mascot in Your App covers those placements in more detail.
When you are ready to specify facial range and emotional intensity, use the mascot poses and expressions library rather than adding loosely defined pose ideas to the toolkit.
Add export rules before handoff
The toolkit should tell people what a finished asset means. Without export rules, teams end up with files that look good in a gallery but fail in the actual product.
Use these checks before accepting a mascot asset:
- The mascot has a transparent background.
- The silhouette is readable at favicon, avatar, and empty-state sizes.
- The pose has safe padding and does not clip hands, props, or shadows.
- The SVG is clean enough for web use, with a PNG fallback for tools that need raster files.
- The asset works on light and dark UI surfaces.
- The file name describes the mascot, pose, and intended placement.
For product teams, SVG readiness is often the difference between a mascot people reuse and one that stays trapped in a design file.
Keep a small usage guide with the assets
The best mascot creator toolkit includes a short handoff note. This keeps future assets consistent when someone on the team creates a new onboarding screen, launch graphic, or help center article.
Document:
- Approved character reference.
- Prompt blocks and negative constraints.
- Color palette and contrast guidance.
- Allowed emotional range.
- Preferred poses for each product moment.
- Where the mascot should not appear.
This is especially useful for teams using AI tools because prompt memory is fragile. A reusable guide keeps the mascot from changing proportions, personality, or detail level every time someone generates a new asset.
Mascot creator toolkit FAQ
Is a mascot creator toolkit different from a mascot prompt?
Yes. A prompt creates one output. A toolkit defines the repeatable system behind many outputs: brief, style rules, prompt blocks, pose list, export checks, and handoff notes.
How many poses should the first toolkit include?
Start with six: welcome, explain, think, error recovery, success, and announcement. That covers most early product and marketing needs without creating a large asset library too soon.
Should the toolkit include SVG requirements?
Yes. If the mascot will appear in an app, docs site, landing page, or social image, define export expectations early. Transparent background, readable silhouette, safe padding, and SVG-friendly detail should be part of the brief.
Can a small team use this without a designer?
Yes. The toolkit is especially helpful for founders and small product teams because it turns scattered mascot ideas into a repeatable workflow. A designer can refine it later, but the first version should still name the role, style, poses, and export rules.
Production checklist
- Write the one-page mascot brief.
- Save stable character and style prompt blocks.
- List the first six product poses.
- Define transparent SVG and PNG export checks.
- Test the mascot in one real product surface before making more assets.
- Keep usage notes next to the approved files.
Build a mascot toolkit your team can reuse
Use svgapp to create a consistent mascot, generate useful poses, and export production-ready assets for product and marketing.
Create Your Mascot