App Mascot Generator: Create Product-Ready Characters for Your UI
A practical app mascot generator workflow for creating consistent characters, useful product poses, and SVG-ready assets for real app screens.
Quick Answer
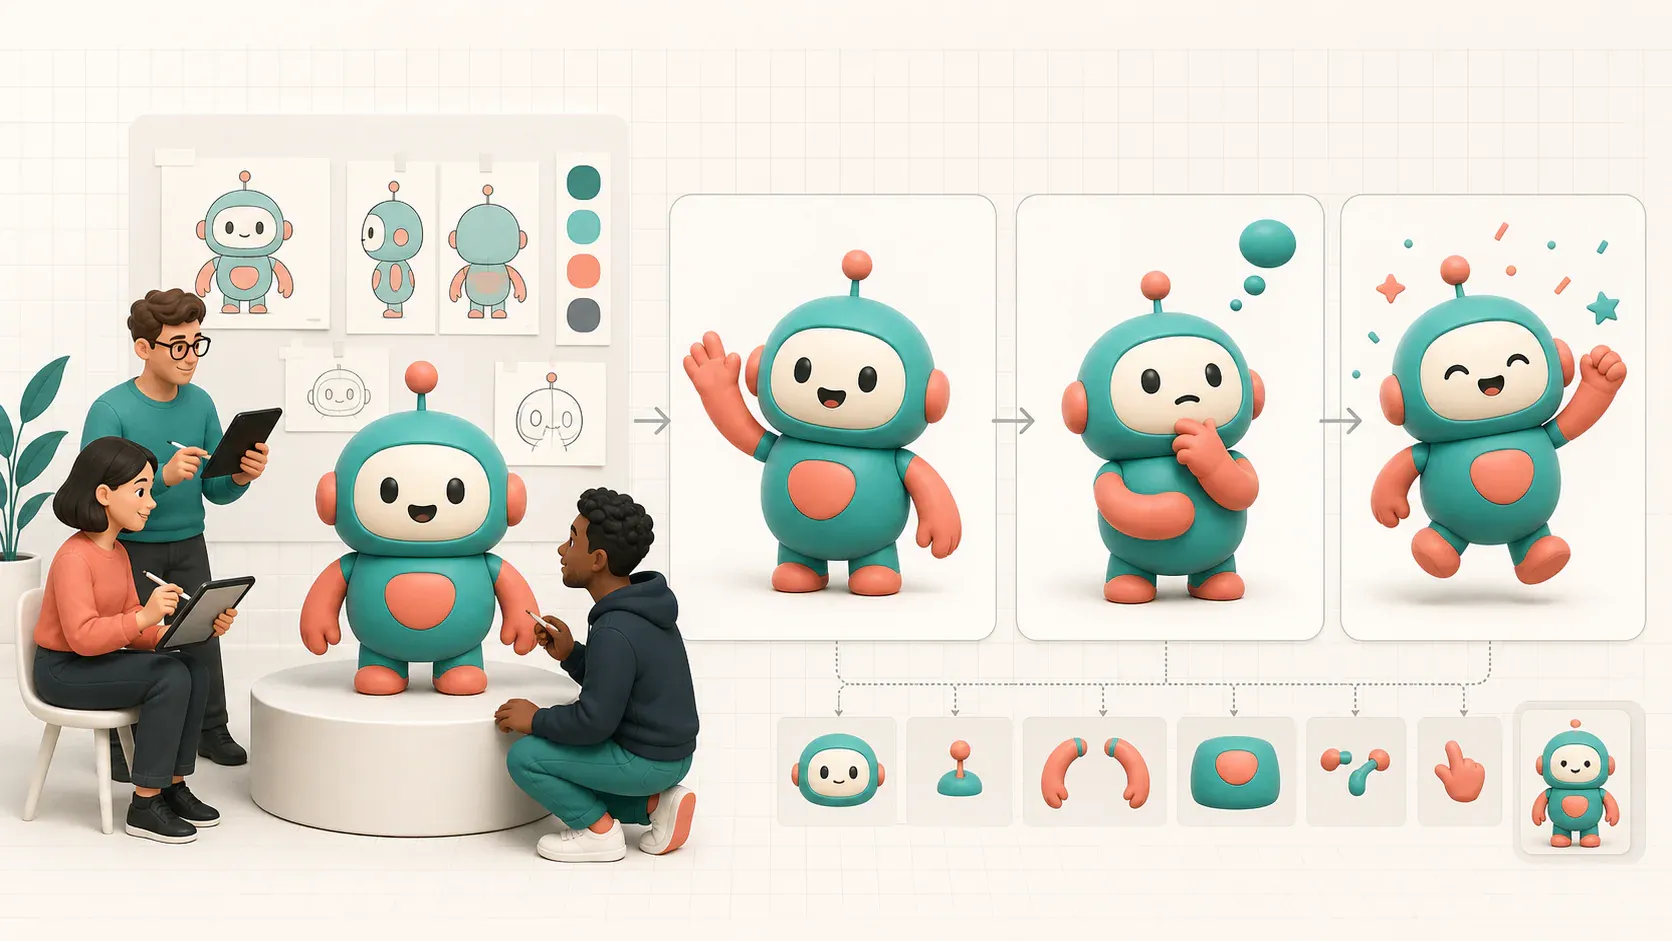
An app mascot generator should help you create a character system, not just one cute illustration. For product teams, the useful output is a consistent mascot with poses for onboarding, empty states, errors, success moments, docs, and launch assets.
Core idea: start with the product moments where the mascot will appear, then generate one base character and a small pose library around those moments. The mascot should make the app feel clearer and more memorable without getting in the user’s way.
- Define the mascot’s job before choosing a species, style, or outfit.
- Generate one base character and lock its visual identity.
- Create poses for real UI states before making marketing variations.
- Export assets with transparent backgrounds, readable silhouettes, and SVG-friendly detail.
This page is the creation workflow: it covers how to go from product requirements to an approved, reusable mascot system. For inspiration by placement, see app mascot examples. For a ready-to-use expression inventory, use the mascot poses and expressions library.
Keep the decisions and approved files from this workflow in a mascot creator toolkit so future poses start from the same brief, identity lock, and export rules.
What an app mascot generator should create
Most teams do not need a random character gallery. They need a small set of assets that can be used inside a product without creating visual noise.
A useful app mascot generator workflow should create:
| Asset | Where it helps | What to check |
|---|---|---|
| Base mascot | brand identity, landing page, app shell | recognizable silhouette and brand fit |
| Welcome pose | onboarding, signup, first run | friendly without feeling childish |
| Thinking pose | loading, search, AI planning | calm and purposeful |
| Empty-state pose | dashboards, projects, libraries | points users toward the next action |
| Error-recovery pose | failed uploads, 404s, invalid inputs | helpful instead of jokey |
| Success pose | completed tasks, launches, milestones | expressive but not oversized |
| Help pose | docs, tooltips, support | clear gesture and readable expression |
If you are still deciding where a mascot belongs, read App Mascot Design: 12 Product Moments Where Characters Actually Help first. If you already know the screens, this guide is the generator workflow.
Start with the app moment, not the mascot
The fastest way to get a weak mascot is to start with “make it cute.” Cute is not a product requirement. The better starting point is the user moment.
Write down where the mascot will appear:
- a first-run onboarding screen
- a blank dashboard before the user creates anything
- a loading or AI-processing state
- an error message with a retry action
- a success confirmation after the user finishes something
- a release note, changelog, or launch post
Then write the emotional job. Should the mascot reassure, guide, celebrate, clarify, or make the brand easier to remember? An app mascot can be playful, but it should still do useful interface work.
For a broader placement map, use Where to Place a Mascot in Your App.
Write a generator-ready mascot brief
Before using any app mascot generator, create a short brief that can be reused across prompts and exports.
Use this structure:
Create an app mascot for [product category].

Audience:
[Who uses the app and what they are trying to do.]

Mascot role:
The mascot helps users [understand, start, recover, celebrate, or remember].

Personality:
[Three to five traits, such as calm, precise, optimistic, clever, or supportive.]

Visual style:
[SVG-friendly, simple geometry, clean edges, limited shading, transparent background.]

Brand constraints:
[Colors, shapes, tone, details to include, details to avoid.]

First poses:
[Welcome, empty state, thinking, error recovery, success, help.]
The brief keeps the generator from changing direction every time you ask for a new pose. It also gives your team a review checklist: does the mascot match the audience, role, tone, and export needs?
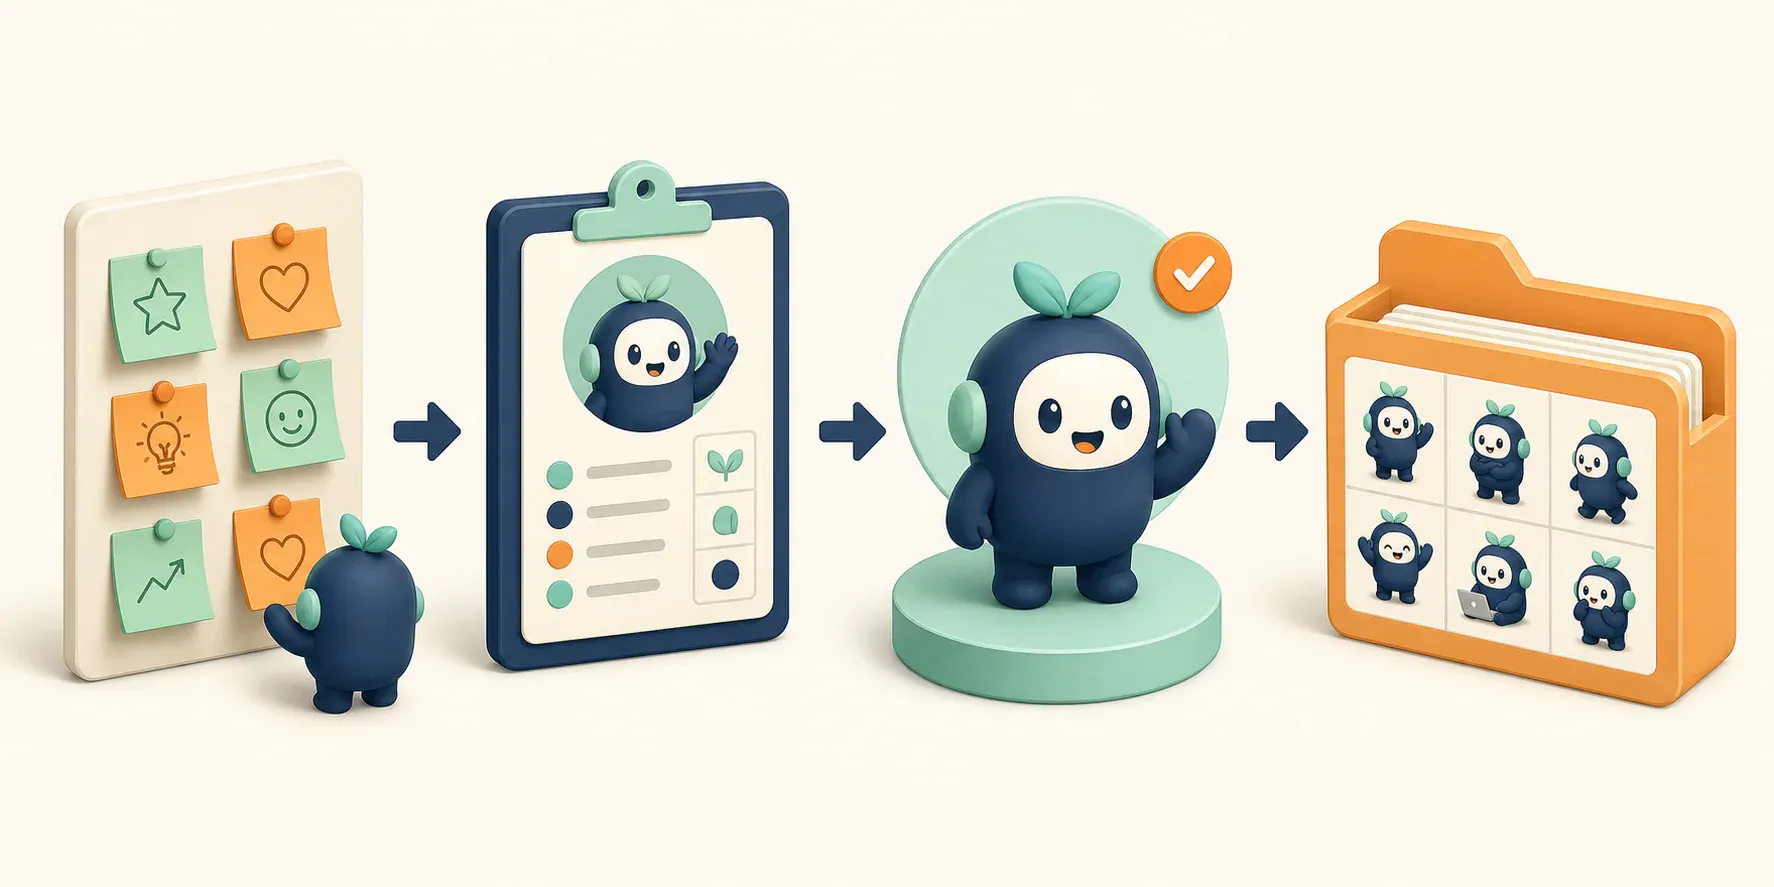
Keep the working brief, approved base image, reference inputs, prompts, and exports together. That simple production record makes later poses easier to reproduce and gives reviewers a known reference when an output drifts.
Generate one base character first
Do not generate twenty poses before the base character works. Start with one full-body mascot in a neutral pose. Review it like a product asset, not a standalone illustration.
Check for:
- clear silhouette at small sizes
- simple face and expression
- limited, brand-compatible colors
- no fragile accessories that will disappear in small UI
- no text baked into the image
- enough visual personality to recognize later
- a style that can become SVG or clean transparent PNG
If the base character only works as a large hero image, it is not ready for an app. Product mascots need to survive cards, side panels, onboarding steps, and mobile screens.
For a complete first-character workflow, read How to Create a Mascot for Your App.
Lock the mascot identity before creating poses
Once the base character works, turn it into an identity lock. This is a compact description that names the details that must stay stable.
Identity lock:
A compact rounded mascot with a friendly upright posture, simple expressive eyes, mitten-like hands, short legs, and a small accent scarf. The mascot uses clean vector-friendly shapes, limited brand colors, subtle shadow, transparent background, no text, and no scene.
Use the identity lock in every pose prompt. The exact details should be yours, but the pattern matters: stable body, stable face, stable colors, stable accessories, stable rendering style.
This is where a focused mascot tool is valuable. Generic image generators can create strong one-off results, but app teams need the second, fifth, and twentieth pose to still look like the same character.
For a character built from reusable vector-friendly parts, apply the silhouette and component rules in simple geometric mascot design before expanding the pose set.
Build the first app mascot pose set
Create poses one at a time. One-pose prompts are easier to review and easier to place inside real product screens.
Start with six:
1. Welcome
Use this for signup, first-run, and account setup. The mascot should invite action, not dominate the screen.
Good prompt direction: waving, presenting the first step, standing beside an empty product area.
2. Thinking
Use this for loading, AI planning, search, or background processing. The pose should make waiting feel intentional without hiding slow performance.
Good prompt direction: holding a note, inspecting something, looking focused, reading a tiny checklist.
3. Empty State
Use this before the user has projects, files, teammates, or results. Pair the pose with a clear next action.
Good prompt direction: pointing to the create button, holding a blank card, carrying a small box of tools.
4. Error Recovery
Use this when something breaks. The mascot should reduce anxiety and support recovery, not make the error feel cute.
Good prompt direction: calm expression, holding a tool, pointing toward retry, no panic, no jokes.
5. Success
Use this for completed actions and meaningful milestones. Save the most expressive version for moments that truly matter.
Good prompt direction: small celebration, confetti, proud stance, holding a finished item.
6. Help
Use this in docs, tips, and support panels. The pose should feel precise and instructional.
Good prompt direction: pointing, explaining, holding a guide, standing beside a small note area with no generated text.
Turn your mascot brief into a reusable character
Use svgapp to create an original mascot, refine its visual identity, and generate consistent assets for real product moments.
Open the Mascot GeneratorTest every mascot in a real UI
Do not approve assets on a white background only. Drop each mascot into the actual screen where it will appear.
Review:
- Does it compete with the main button?
- Does it fit mobile without crowding copy?
- Does the expression match the user’s emotional state?
- Does the mascot still read on light and dark surfaces?
- Does the pose make the next action clearer?
- Would the screen still work if the mascot failed to load?
The mascot should support the interface. If it becomes the loudest thing on an operational screen, reduce its size, simplify the pose, or remove it.
Export rules for app mascots
For app use, exports matter as much as the character idea.
Set these requirements before generating the final assets:
- transparent background
- safe padding around hands, props, and shadows
- clean silhouette at small sizes
- consistent file names by mascot, pose, and placement
- SVG-friendly shapes or production-ready transparent PNG
- versions that work on light and dark UI surfaces
If SVG output is part of your workflow, continue with Transparent SVG Mascots: File Formats, Exports, and Clean Product Placement.
App mascot generator FAQ
What is an app mascot generator?
An app mascot generator is a tool or workflow for creating a character that can appear across app screens, onboarding, empty states, documentation, launch assets, and marketing pages. The best version creates a repeatable mascot system, not only a single image.
How many mascot poses should an app start with?
Start with six: welcome, thinking, empty state, error recovery, success, and help. That gives most products enough range without creating a large asset library too early.
Should an app mascot be SVG?
SVG is useful when the mascot needs to appear in websites, apps, docs, and UI states because it stays crisp and can be easier to adapt. A clean transparent PNG can also work, but the design should still be simple enough for production use.
How do I keep an AI-generated app mascot consistent?
Use a written identity lock, stable brand colors, a fixed visual style, and one-pose prompts. When the tool supports reference images, provide the approved base character with each new pose request. Review every output against that source before adding it to the library.
Can I use a reference image in an app mascot generator?
Yes, if the tool supports image references and you own or have permission to use the source. Use your approved mascot artwork as the identity reference; do not use another company’s character as a shortcut to its style or brand recognition.
Production checklist
- Choose the app moments where the mascot will appear.
- Write a reusable mascot brief.
- Generate and approve one base character.
- Create six functional poses.
- Test each pose inside the real UI.
- Export transparent, SVG-friendly assets.
- Keep the identity lock and prompt notes with the final files.
The best app mascot generator workflow is practical. It gives your product a recognizable character, but it also gives your team a system they can actually reuse.