Mascot Maker Online: How to Create a Reusable Character System
A practical guide to choosing an online mascot maker, creating a consistent character, and turning it into reusable SVG-ready product assets.
Quick Answer
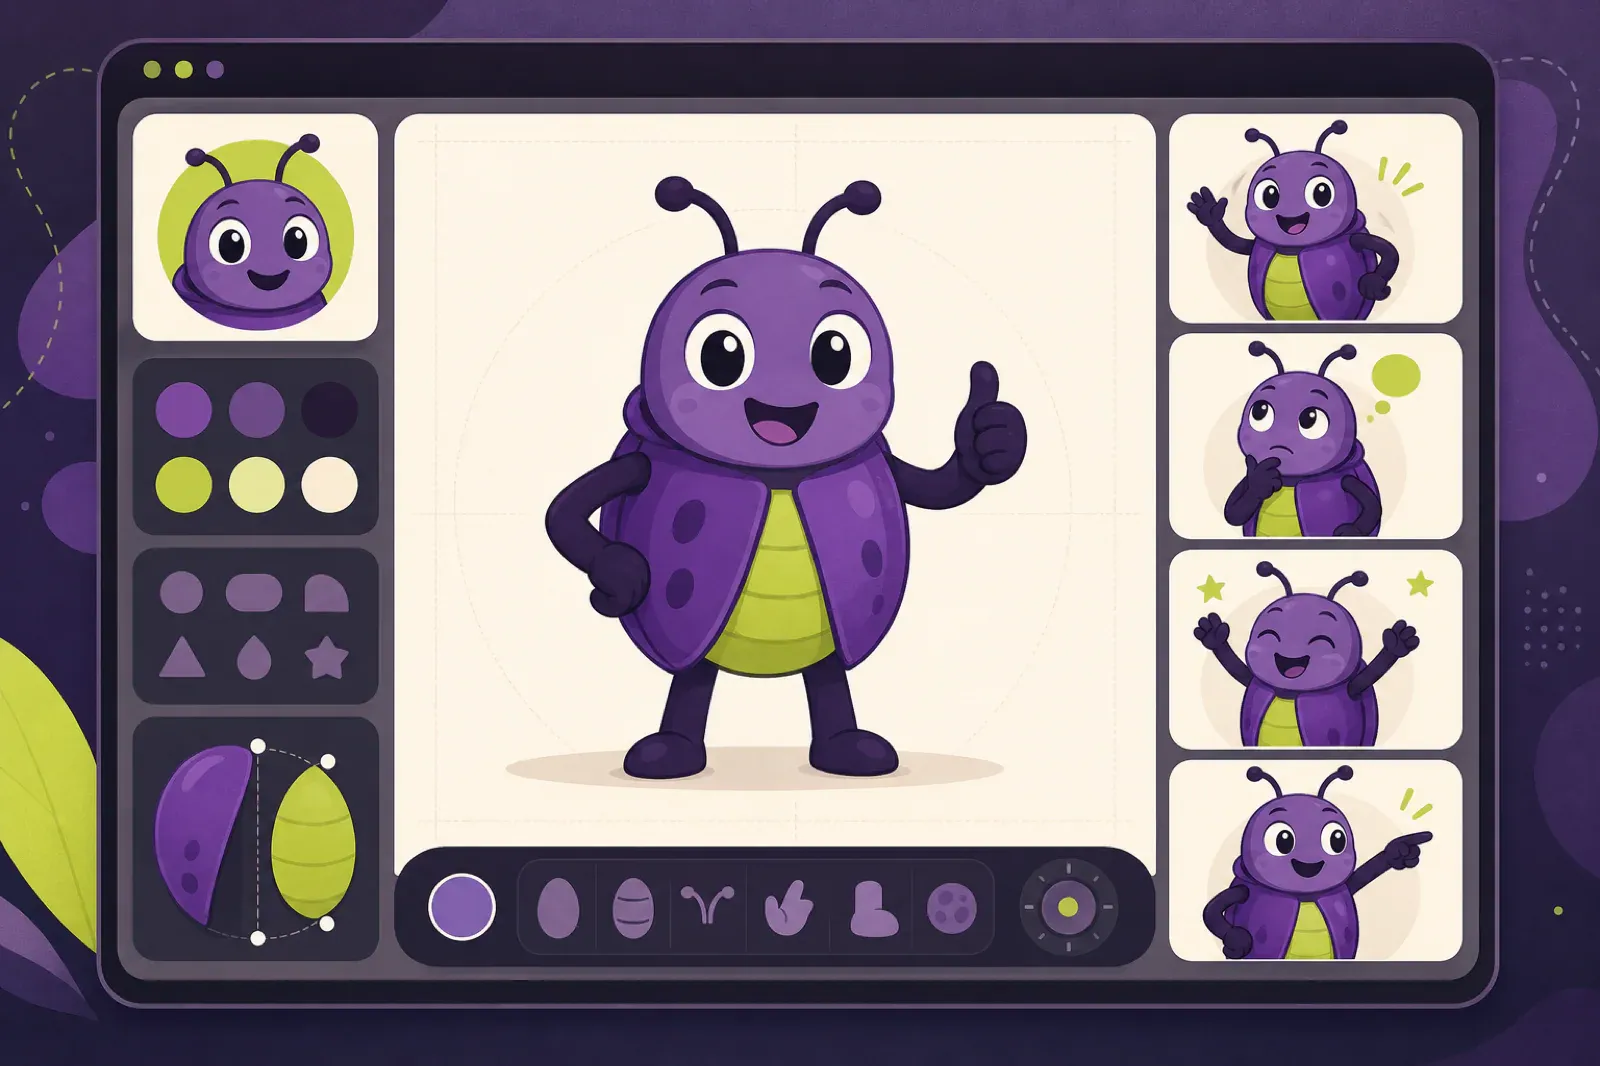
An online mascot maker should help you create more than one cute character image. For product, SaaS, and brand teams, the useful output is a reusable mascot system: one recognizable character, a clear style, transparent exports, and enough poses for real product and marketing moments.
Core idea: choose a mascot maker by how well it handles the second, fifth, and twentieth asset, not only by the first generated image.
- Start with a short mascot brief before opening any generator.
- Create one base character, then generate a small pose library.
- Check every output for consistency, SVG readiness, transparent background, and small-size readability.
- Treat the mascot as a product asset, not a one-off illustration.
If you are still comparing tools, read Best AI Mascot Generators for App and SaaS Teams first. If you already know the character you want, How to Create a Mascot for Your App is the next workflow guide.
If you are deciding between a self-serve maker and human production, compare the tradeoffs in Brand Character Maker Tools and Services.
If you want to test the process immediately, start with the free mascot generator and use the evaluation rubric below on the result.
What an online mascot maker should actually make
The phrase “mascot maker” can mean a few different things. Some tools create a single logo-style character. Others generate a cartoon avatar. A few help you build a full mascot library with matching poses, expressions, and export formats.
For a real product team, the last version is the one that matters. A mascot becomes valuable when it can appear across onboarding, empty states, error screens, help docs, launch graphics, social posts, and pricing pages without looking like a different character each time.
Look for a workflow that creates:
| Output | Why it matters |
|---|---|
| Base character | Locks the face, body, palette, and personality |
| Pose set | Covers welcome, explain, think, error, success, and announcement moments |
| Transparent files | Lets the mascot sit cleanly inside UI and marketing layouts |
| SVG-friendly style | Keeps edges, colors, and shapes practical for web use |
| Repeatable prompts or settings | Makes future mascot requests faster and more consistent |
That is the difference between a mascot image and a mascot system.
A 10-minute mascot maker evaluation
Do not compare tools by gallery screenshots. Give each candidate the same brief and run four checks:
- Create one neutral base character.
- Request a pointing pose while explicitly preserving the face, body, palette, and accessory.
- Export the result and place it on both a light card and a dark card.
- View it at 64px wide and check whether the face and gesture still read.
Score each check from zero to two: zero means unusable, one means cleanup is needed, and two means ready to place. A tool that scores seven or eight is a better production choice than one with a prettier first image but inconsistent follow-up poses.
Start with a mascot brief
Before using any mascot maker online, write a compact brief. This keeps the output tied to the product instead of drifting into generic character art.
Use this structure:
Create a mascot for [product or brand category].

Audience:
[Who uses the product.]

Role:
The mascot helps users [understand state, complete a task, remember the brand, or feel guided].

Personality:
[Three to five traits.]

Visual style:
[Shape language, palette, detail level, SVG-friendly constraints.]

Must avoid:
[Anything too childish, too detailed, off-brand, copied, or hard to reuse.]
A good brief is practical. It gives the generator and the reviewer the same standard. If the output is charming but wrong for the audience, the brief makes that obvious.
This guide focuses on evaluating the maker and its workflow. For reusable character, pose, style, and output blocks, use the Mascot Prompt Guide.
Create the base character before the pose library
Do not ask for a full sticker pack first. Start with one base mascot and refine it until the character can survive real placement.
Review the base character against five checks:
- The silhouette is recognizable at small size.
- The face and expression match the brand tone.
- The palette works on light and dark backgrounds.
- The body shape can support multiple poses.
- The style is simple enough for SVG or clean transparent PNG export.
Once the base character works, save the best image and the written description. That becomes the identity reference for every future pose.
Generate the first six poses
The first pose library should be small and useful. Six good poses beat thirty random ones.
Start with:
- Welcome: onboarding, signup, first-run screens.
- Explain: feature callouts, tooltips, docs, sales pages.
- Think: loading, search, planning, AI processing.
- Error recovery: failed upload, empty result, retry state.
- Success: completed task, launch, payment, milestone.
- Announcement: release notes, launch posts, new templates.
Each pose should keep the same character proportions, face, colors, and rendering style. If the mascot changes species, clothing, expression language, or detail level between poses, the system is not ready.
For placement ideas, use App Mascot Design: 12 Product Moments Where Characters Actually Help and Where to Place a Mascot in Your App.
What to check before exporting
The best mascot maker is the one that gives you assets people can actually use. Before accepting a mascot pack, test the files in the places they will appear.
Check transparent backgrounds
Mascots often need to sit on cards, empty states, emails, social posts, and docs pages. Transparent backgrounds make those placements easier. Avoid baked-in white boxes unless the mascot is always used in a framed graphic.
Check SVG readiness
Even if the first output is raster, ask whether the artwork can become SVG-friendly. Clean shapes, limited gradients, clear color blocks, and readable limbs make the asset easier to vectorize or rebuild.
Read Transparent SVG Mascots: File Formats, Exports, and Clean Product Placement if export quality is the main concern.
Check small sizes
Test the mascot as a 64px avatar, a small empty-state illustration, and a social card. If the pose only works as a large hero image, it is not flexible enough for a product mascot.
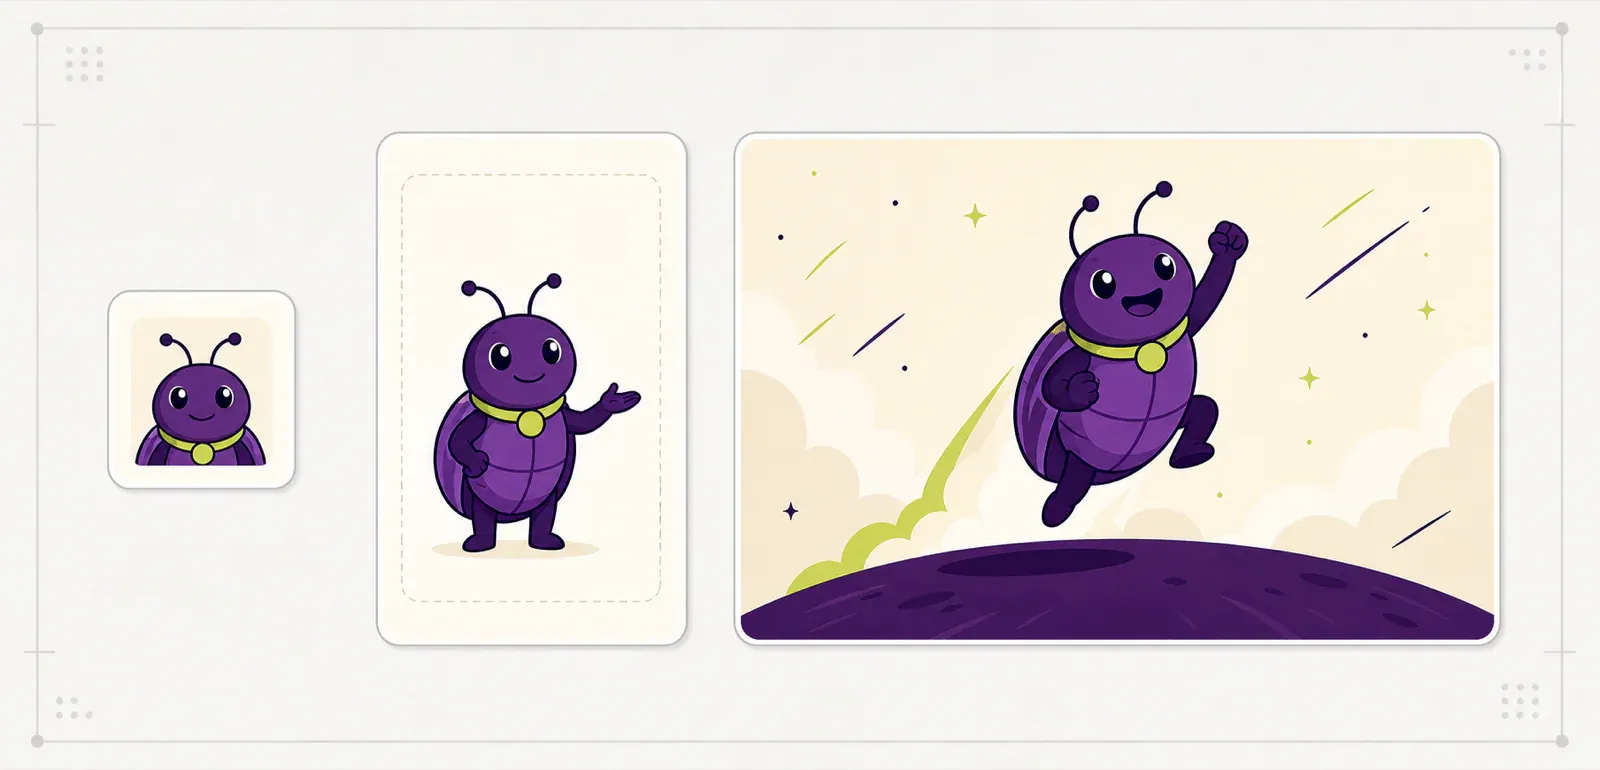
This placement test catches different failures: facial detail disappears in the avatar, awkward padding becomes obvious in the empty state, and an inflexible pose struggles in the wide campaign crop.
Check future requests
Ask for one more pose after the first set is complete. This is a useful stress test. If the mascot maker cannot create a matching new pose later, the team will struggle as soon as product needs change.
Mascot maker prompt template
Use this template when you want a clean, reusable mascot direction:
Create a mascot for a [type of product] used by [audience].

The mascot should feel [trait 1], [trait 2], and [trait 3].
It should act as a [guide/helper/builder/coach/celebrator] for users.

Visual style:
SVG-friendly, clean vector-like shapes, transparent background, readable at small sizes, limited shading, no text, no busy scene.

Brand constraints:
[Palette, shape language, tone, styles to avoid.]

Output:
One full-body base character in a neutral three-quarter pose with clear silhouette and enough padding for product use.
After the base character is approved, keep the identity block stable and change only the pose:
Using the same mascot identity, create a [welcome / thinking / error recovery / success / announcement] pose.

Preserve the same face, body proportions, palette, style, and detail level.
Transparent background. No text. No extra characters.
When a mascot maker is better than a generic image generator
A generic image generator can create attractive character concepts. That is useful for exploration, but it often takes extra work to keep the character consistent.
A focused mascot maker is better when you need:
- matching poses for product screens
- clean transparent exports
- style consistency across a campaign
- brand colors and shape rules
- repeatable assets for a team, not just one image
If your goal is a single campaign visual, a generic image tool may be enough. If your goal is a character users recognize across the product, choose the workflow that helps you build a reusable system.
Mascot maker FAQ
What is the best way to use an online mascot maker?
Start with a mascot brief, create one base character, then generate a small pose library. Test the mascot inside real product and marketing layouts before making more variations.
Can an AI mascot maker create SVG files?
Some tools export SVG directly. Others create SVG-friendly images that need cleanup or vectorization. For product use, look for simple shapes, transparent backgrounds, clean edges, and limited shading.
How many mascot poses should I make first?
Start with six: welcome, explain, think, error recovery, success, and announcement. This covers most early app, website, and marketing needs without creating unused assets.
Is a mascot maker different from a logo maker?
Yes. A logo maker usually creates a static identity mark. A mascot maker should create a character that can appear in different poses, moods, and product moments while staying recognizable.
Create a mascot system, not a one-off image
Use svgapp to create consistent mascot poses for apps, websites, launches, docs, and social graphics.
Create Your Mascot